Manual Setup
Prefer to set everything up by hand? These steps walk you through every screen. (If you’d rather have Claude do it for you, head back to the Claude-guided setup.)
1Sign up for DingDuff+
Create your DingDuff account to get your connector credentials.
2Install DingDuff on your Claude Account+
Follow the steps below to connect DingDuff to your Claude account.
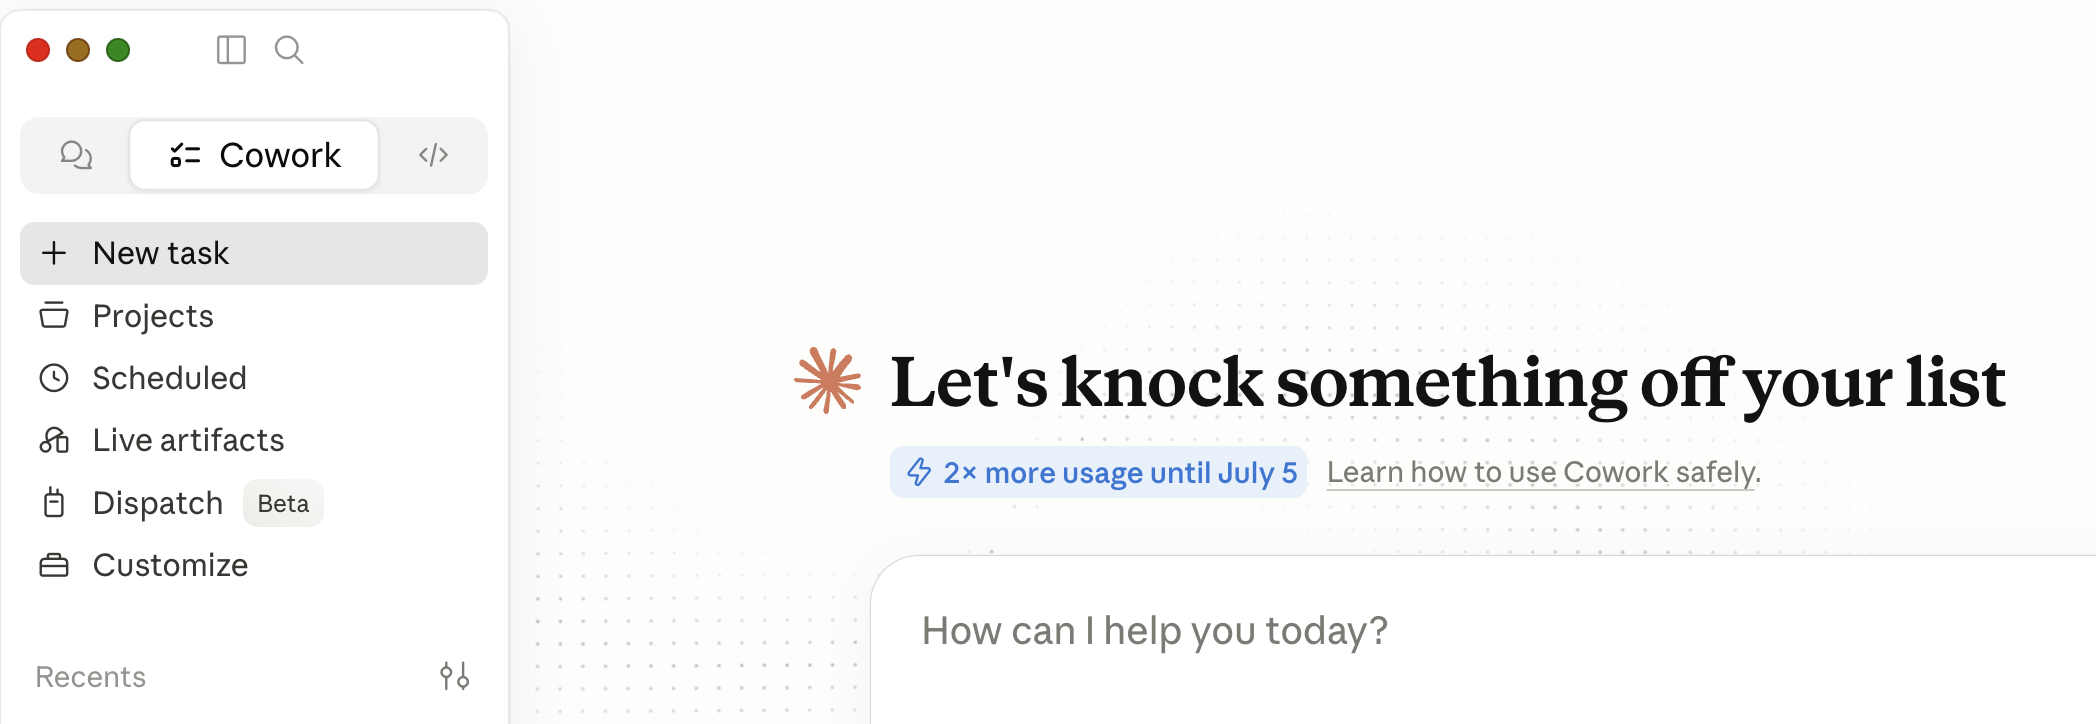
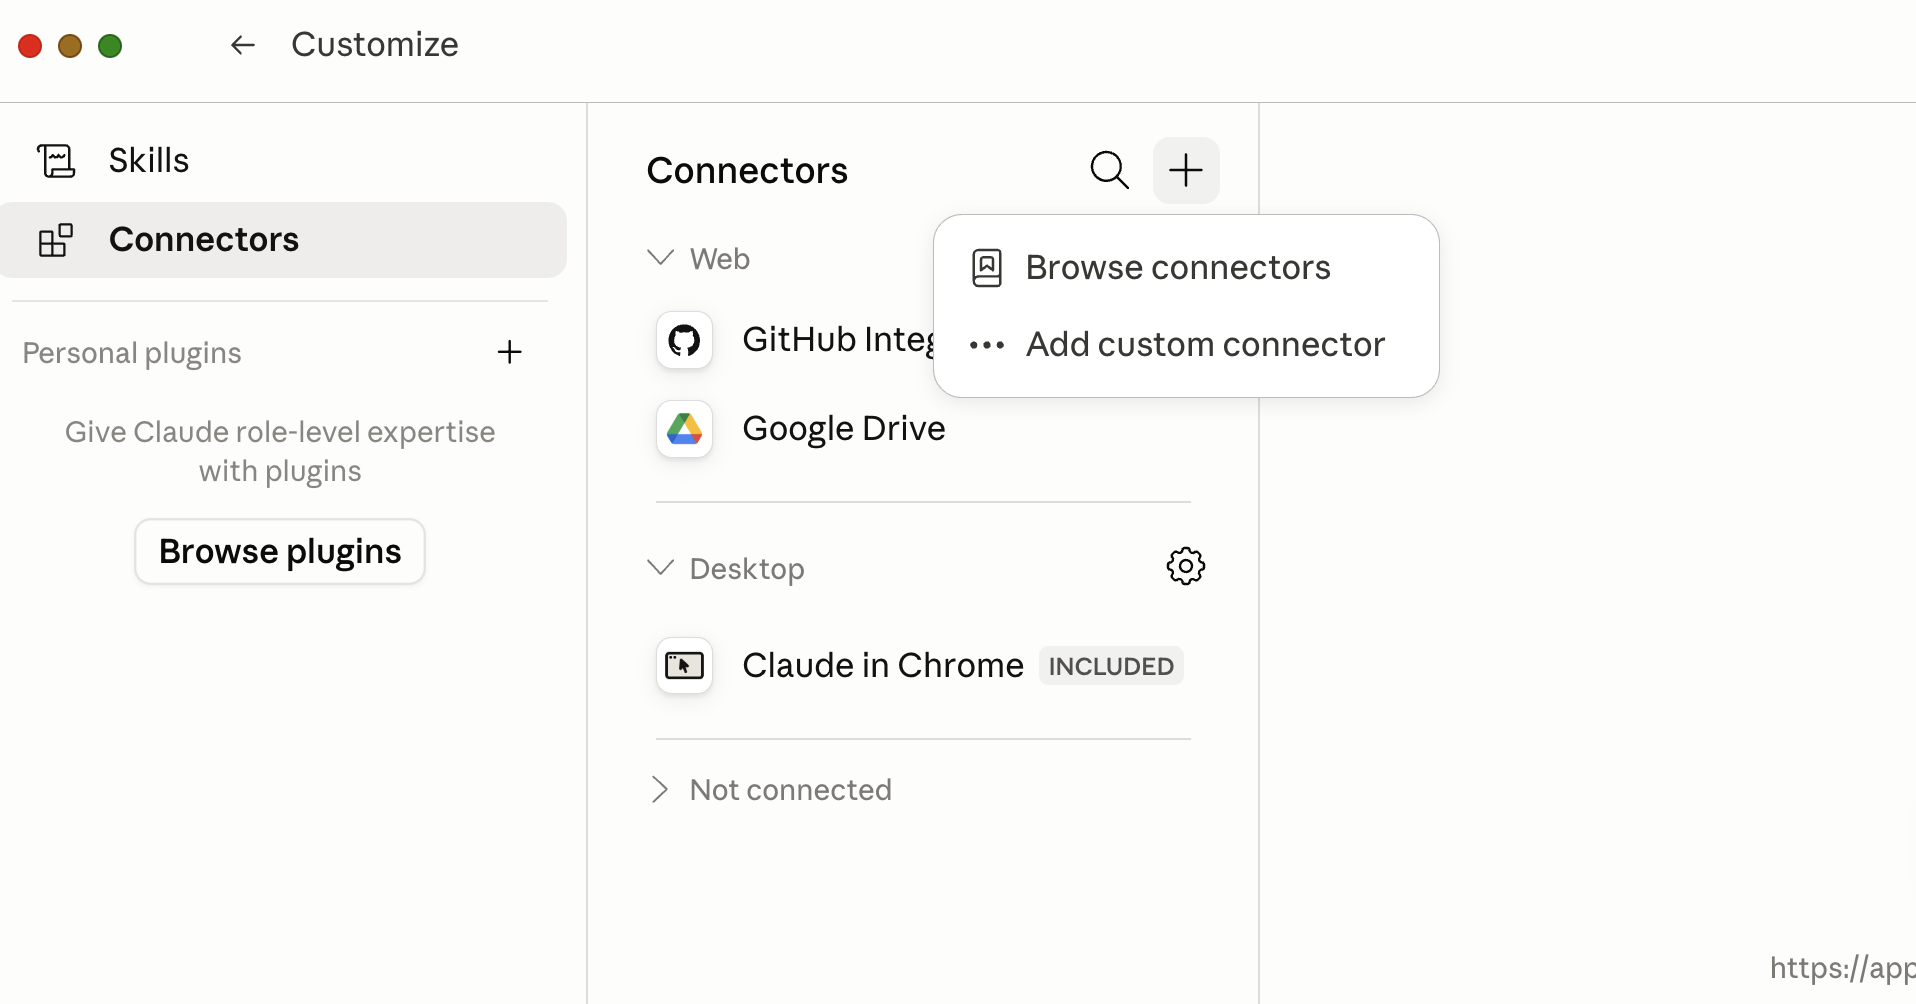
- In your Claude account (web or desktop app), open “Customize” from the left sidebar, then go to “Connectors” → “+” → “Add custom connector.”
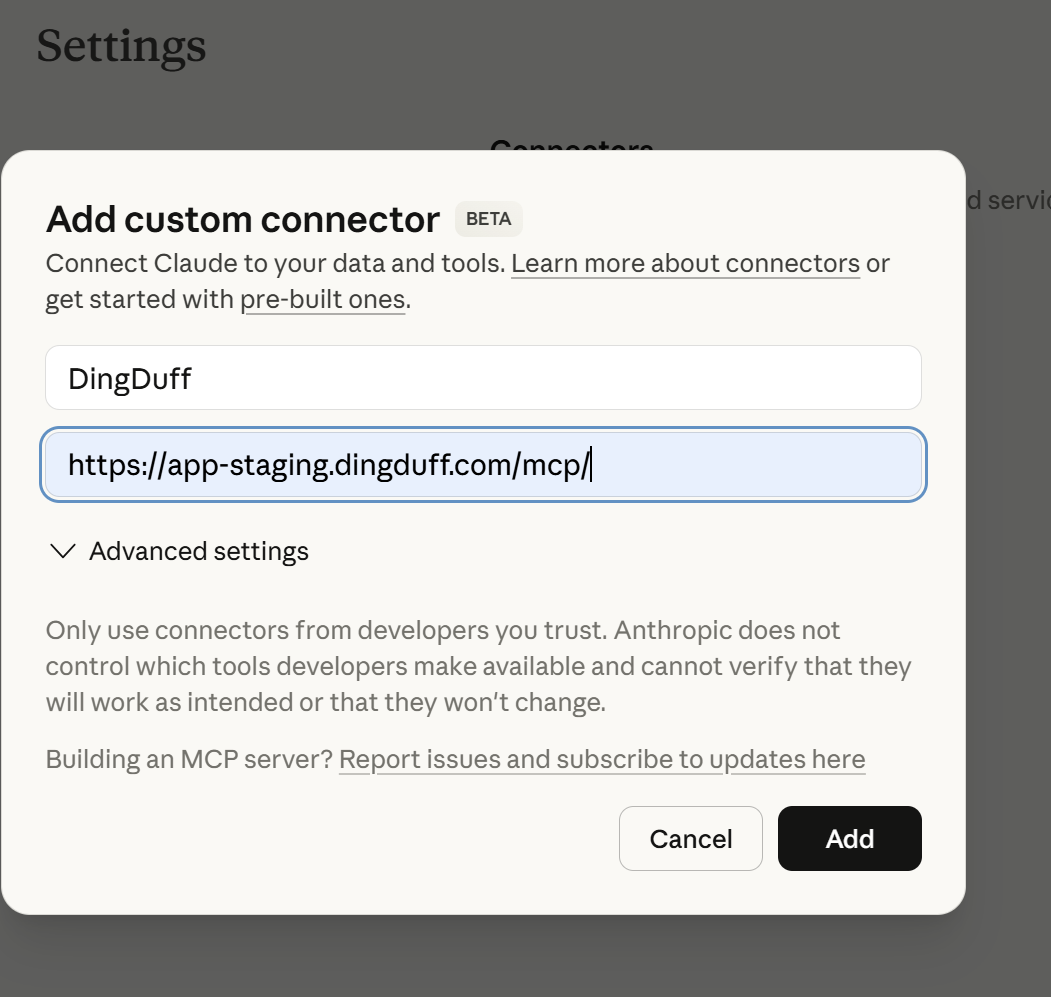
- Fill in the blanks as follows and click “Add”:
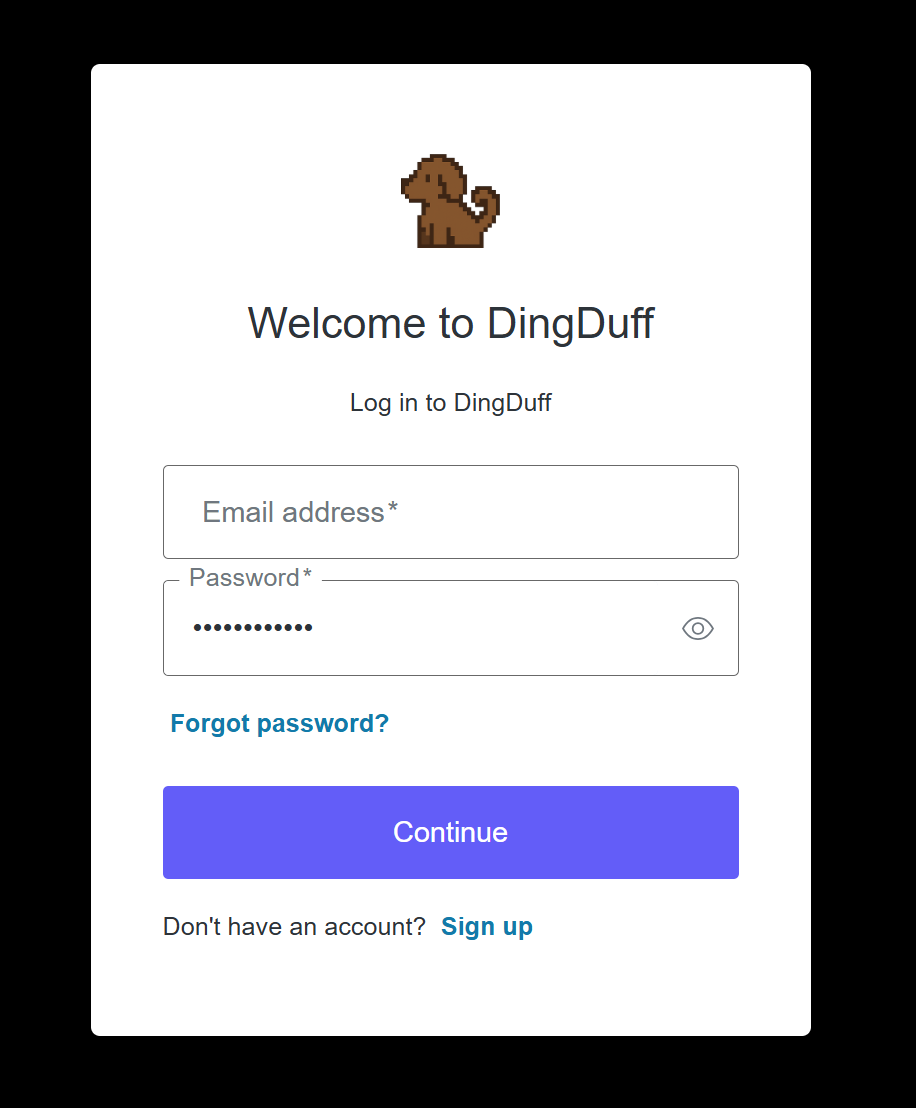
- After you’re redirected to the following page, enter your DingDuff username (email) and password:
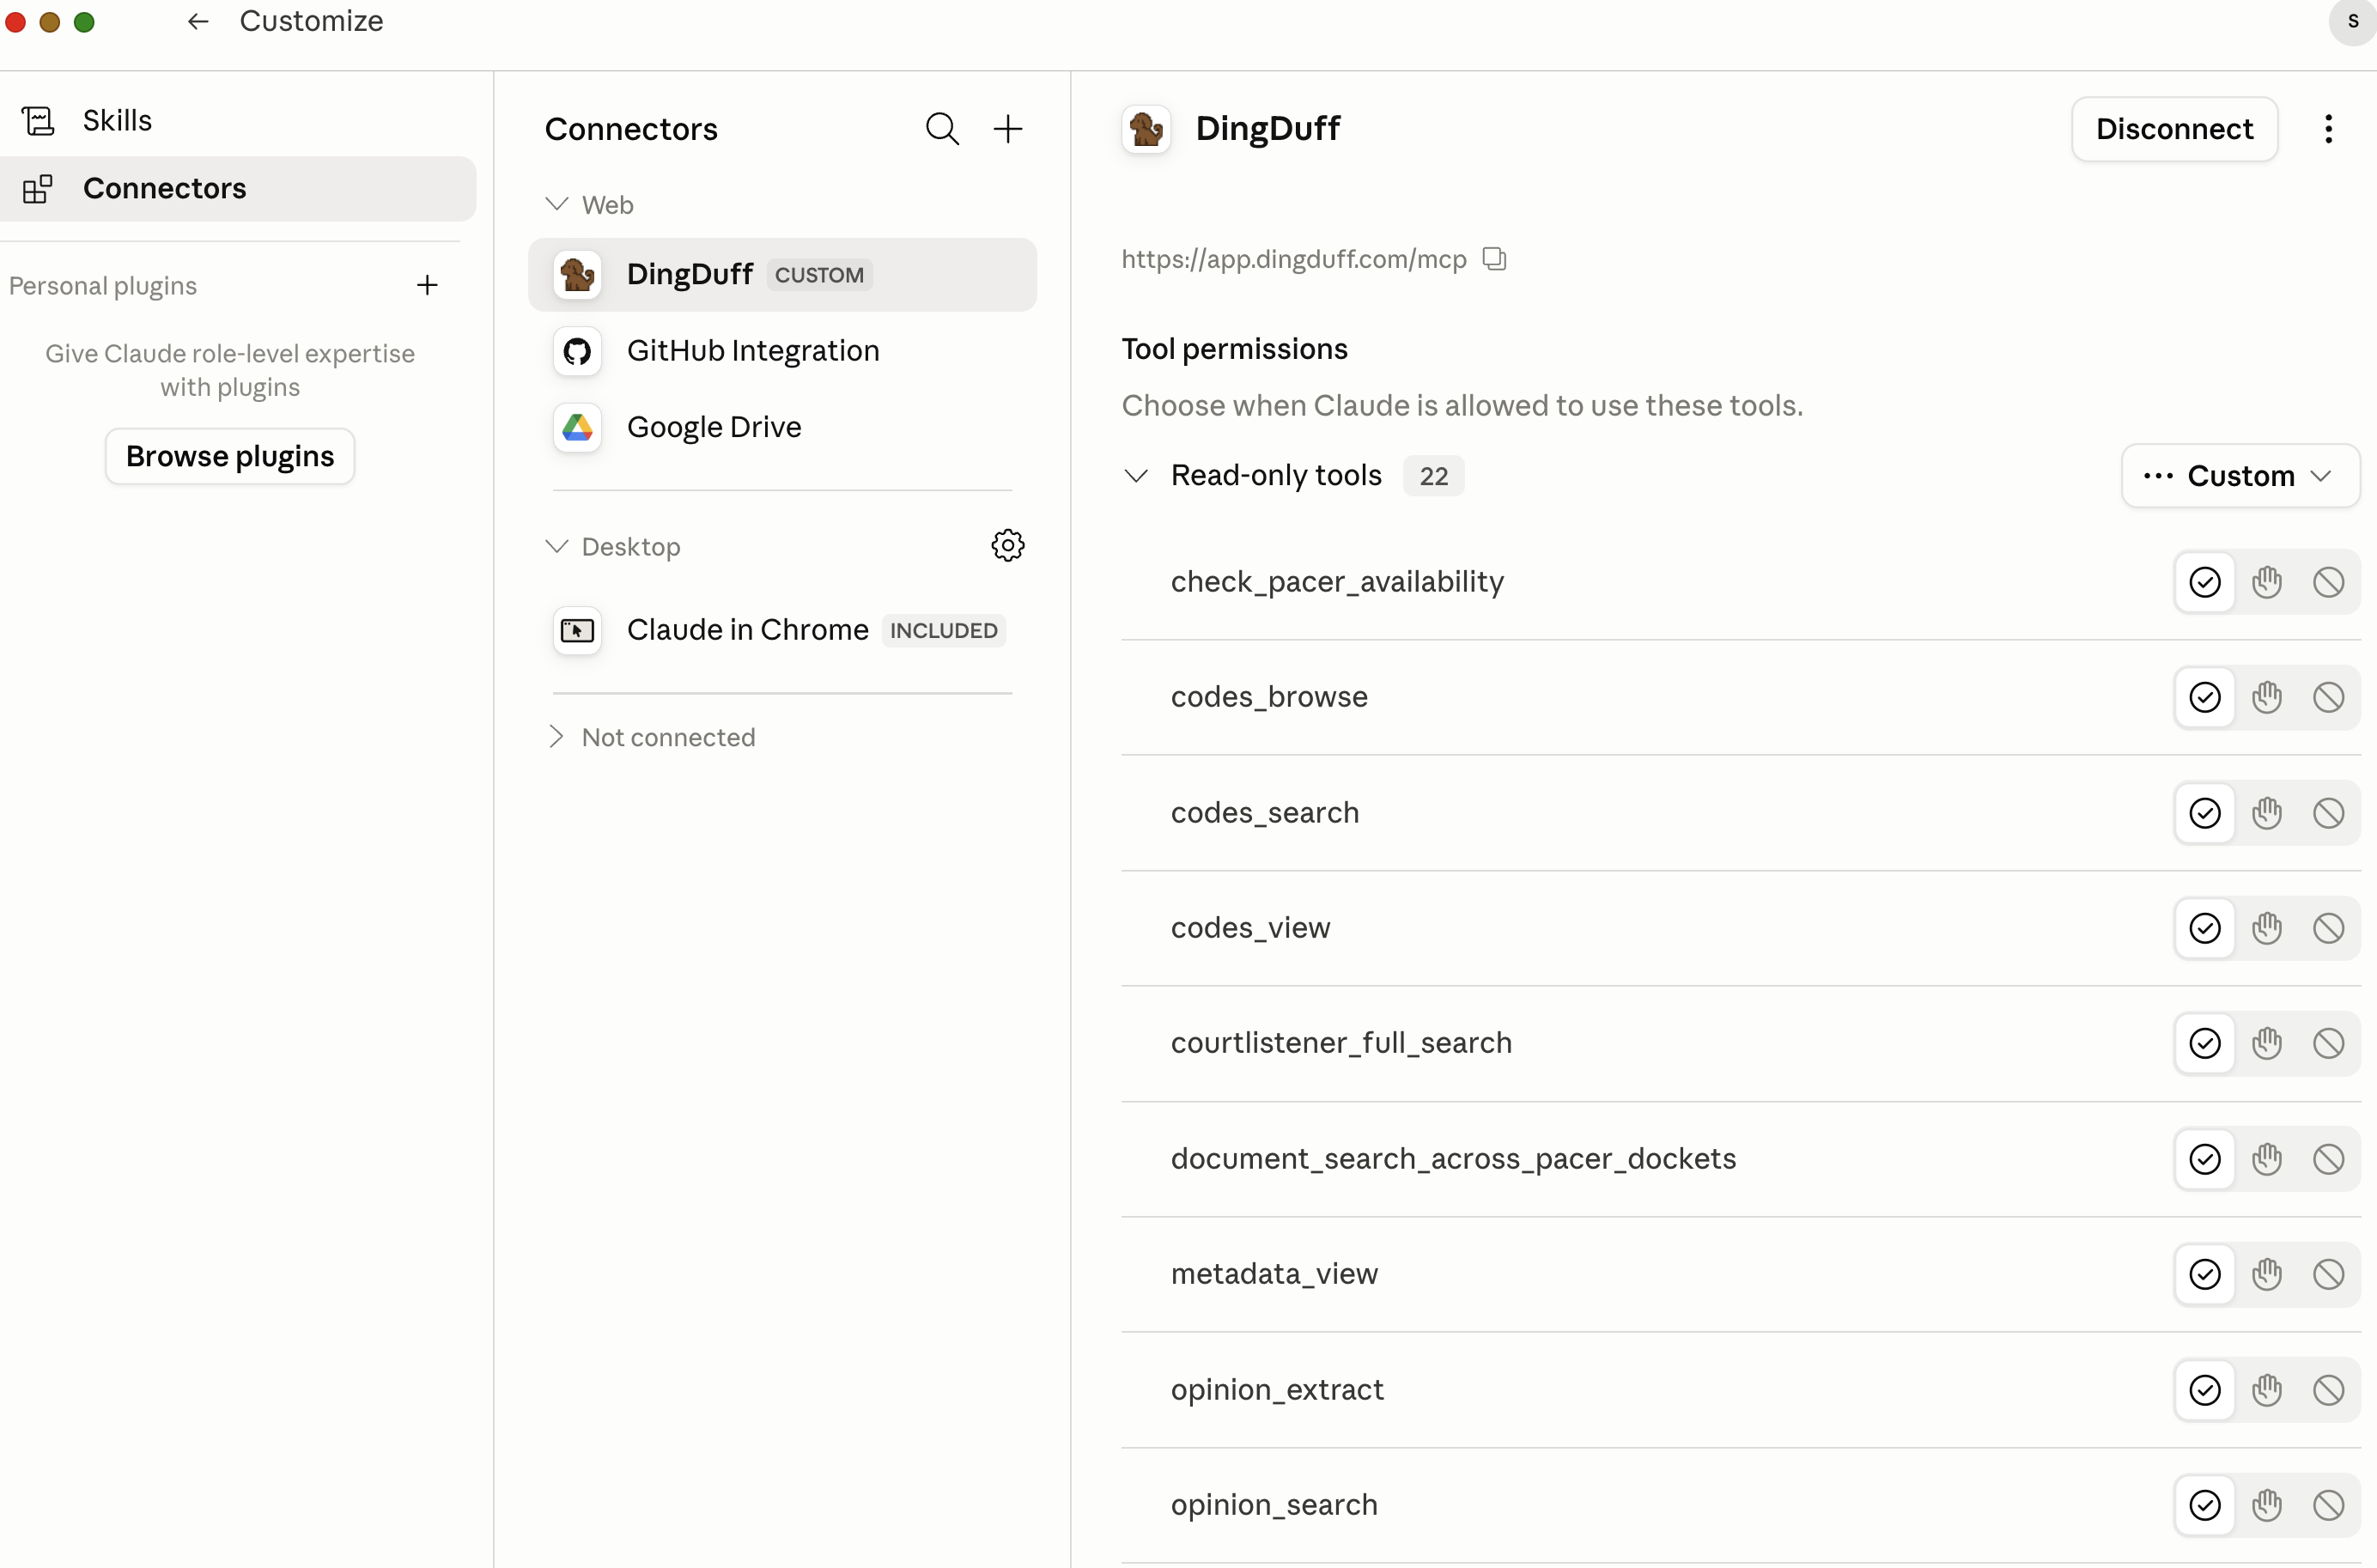
DingDuff should now be available as a connector. Here, you can set the tool “permissions.” We recommend configuring DingDuff to always allow all of its tools. To do this, select the check mark (instead of the hand) next to each DingDuff tool:
3Turn On the Virtual Machine (Web & Phone)+
To use DingDuff in Claude’s web app or on your phone, you need to turn on Claude’s virtual machine so it can run DingDuff and save files to your device. (In Claude Cowork this is already handled for you, so you can skip this step.)
Go to your Claude account → Settings → Capabilities. Scroll down and turn on two features:
- “Claude code execution and file creation”
- “Allow network egress”
4Add Custom Skills to Claude+
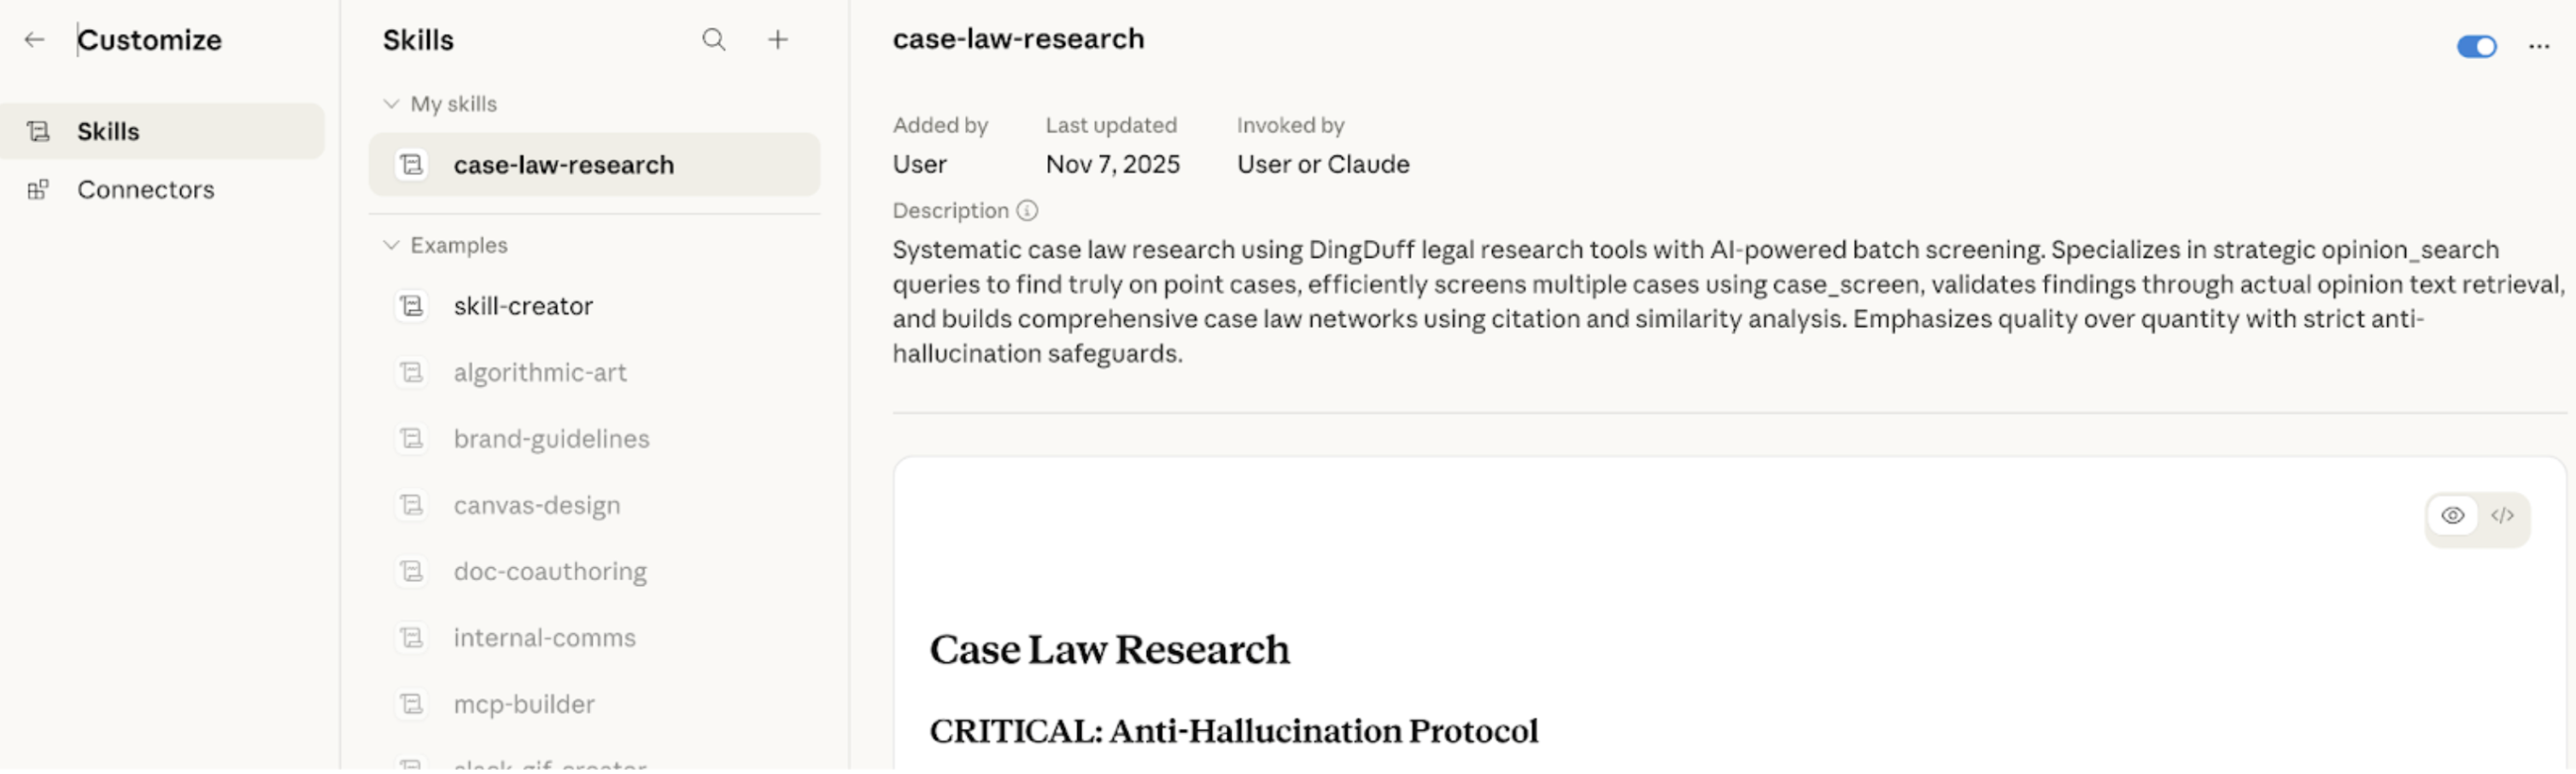
DingDuff works on its own, but our free skills make its answers noticeably better. They’re optional, one-time downloads that stay in your skill picker once uploaded — and we recommend downloading all of them. The library covers case-law research (standard and deep), deep statutory research, a citation checker, and citation formatting.
By default, Claude uses the standard research skills, which are the right choice for most questions. If you specifically ask for deep research, it switches to a recursive pattern: it grabs a first set of cases, analyzes them, and keeps pulling more until it’s satisfied the answer is complete. That produces a great, thorough answer — but it uses a lot more tokens, so you have to ask for it explicitly. Claude won’t run the deep skill on its own.
There are two ways to get the skills:
Option 1 — Download them directly here. Grab any or all of the skill files below:
Systematic case-law research for everyday questions — finds and analyzes relevant opinions, verifies holdings, quotes, and citations, and surfaces splits.
Exhaustive, recursive research that maps the full citation network, with a validity check on every key case. For briefs and formal opinions.
Exhaustive statutory research — maps a code top-down and bottom-up, discovers definitions and cross-references, and pulls judicial interpretations.
Verifies every citation in a drafted memo against stored opinions and statutes, then opens an attorney review panel and logs your verdicts.
Formats citations the way courts expect — signals, pincites, short forms, string cites, and same-matter filings.
Option 2 — Get the latest from our install wiki. The wiki always hosts the most up-to-date versions of every skill:
Open the install wiki ↗Once you have the files, upload them to Claude — in Cowork: Customize → “Skills”; on claude.ai: Settings → Capabilities → “Skills.”
5Customize Claude Preferences+
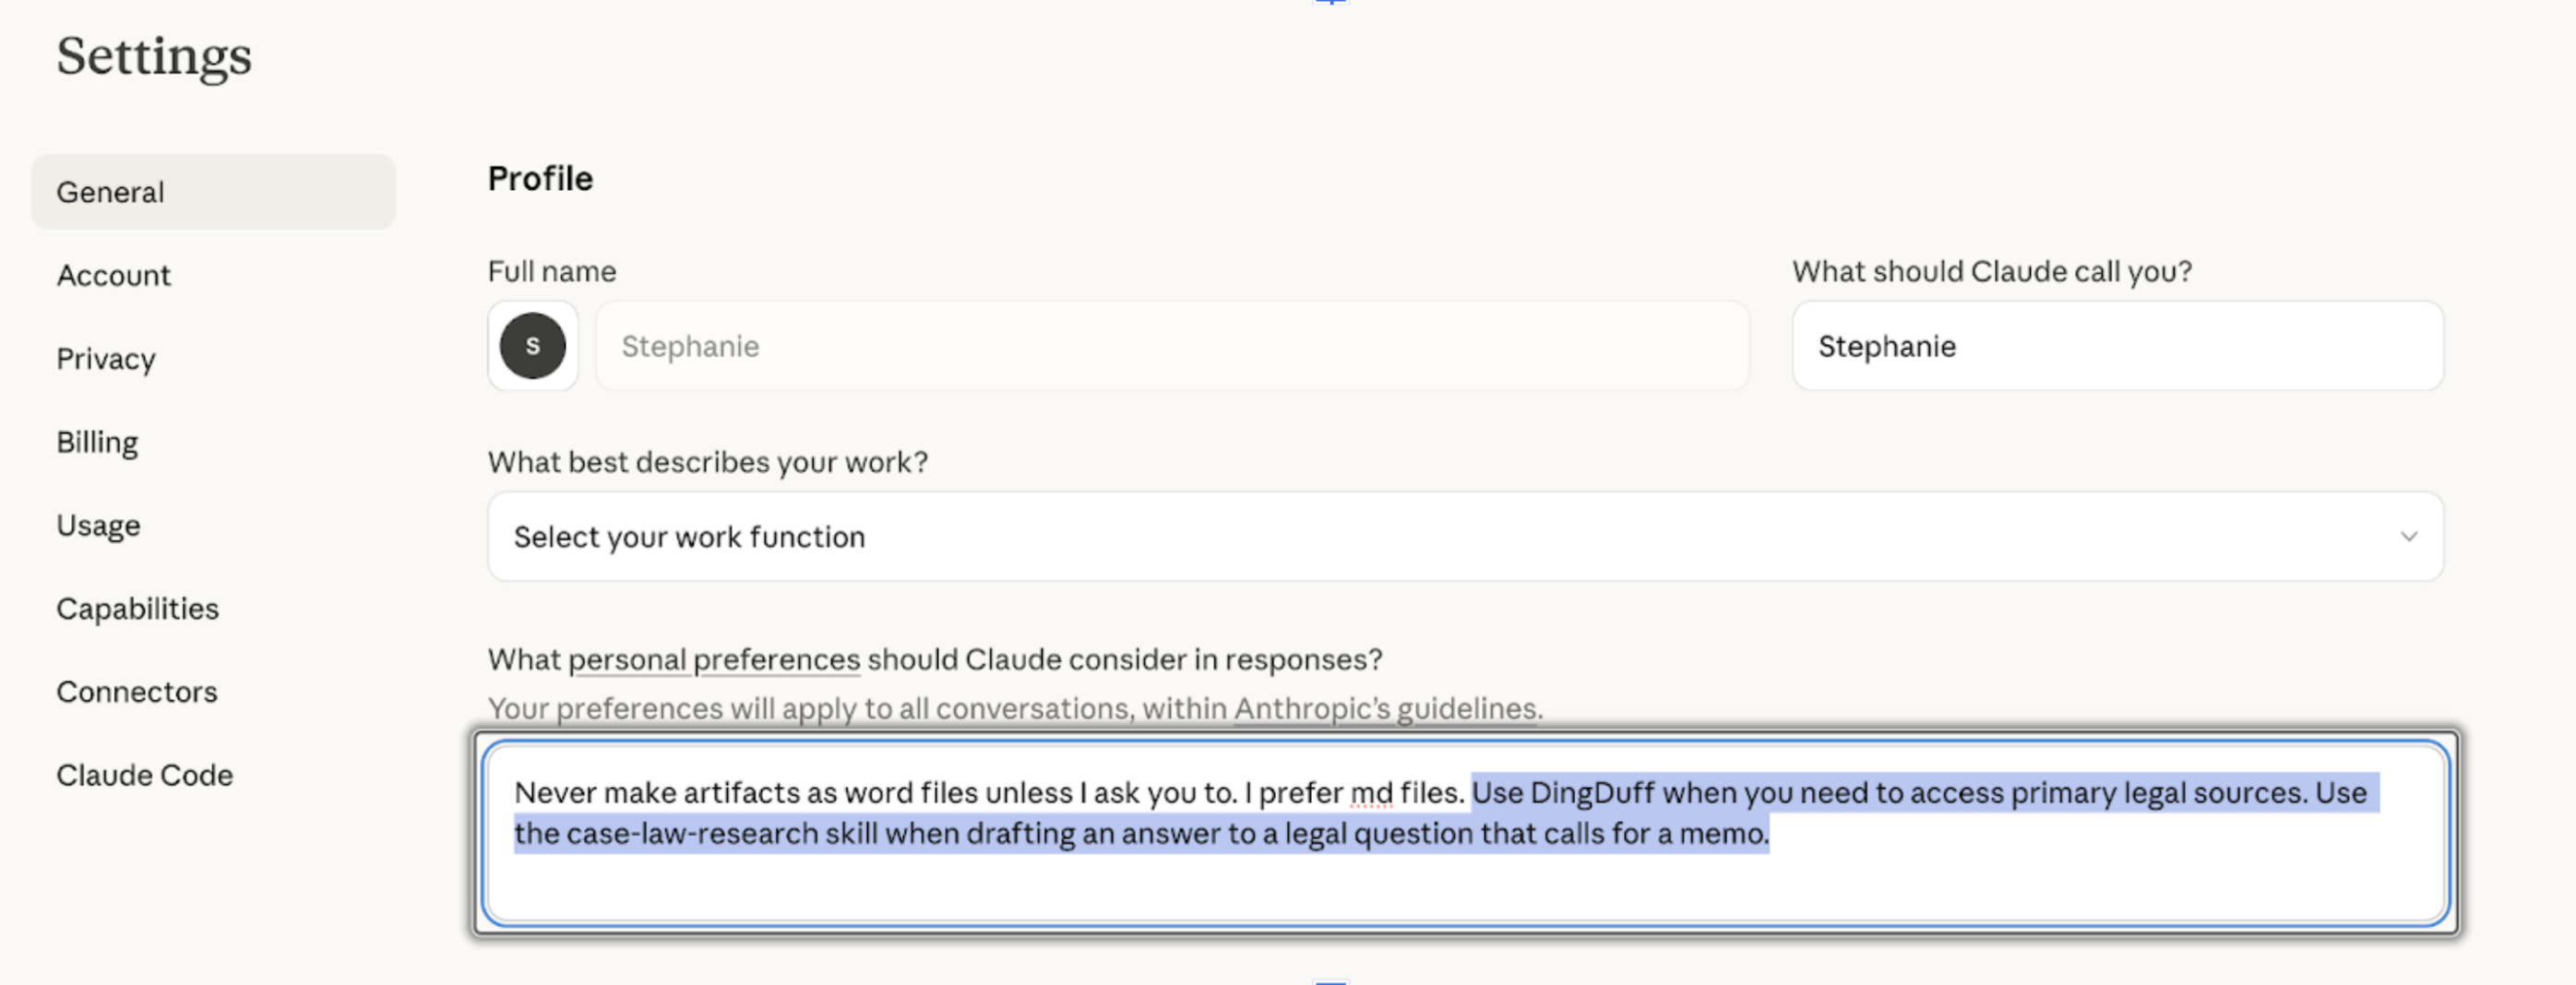
We also recommend adding a custom instruction under Profile → “Instructions for Claude” (in your General settings) that directs Claude to always access DingDuff when conducting legal research. This way you don’t have to tell it to do so each time. This is what it looks like in our Claude accounts.
6Claude Privacy Settings+
In your Claude account settings, we highly recommend turning off Claude’s ability to train the LLM on your chats.
7Researching with DingDuff+
This is where it gets fun. To research with DingDuff, open a “new chat” in Claude — whether you’re in the web app, on your phone, or in Cowork. Make sure that DingDuff is “active” as a connector by hitting the “+” symbol in the chat screen and verifying that DingDuff is toggled “on.” It will look like this:

DingDuff adapts to where you’re working: in Cowork — and in the web or phone app once the virtual machine is turned on (Step 3) — it saves a full copy of each opinion to a folder so you can revisit it later. See “How DingDuff works” on our home page for the details — everything else here applies in every environment.
Now you just type your legal question into the chat window. To get the best results, you’ll want to direct Claude to do at least three things when answering your legal question: (1) “access only the DingDuff database” (this keeps it from reaching out to the wider internet); (2) tell it which jurisdiction you want it to pull cases from; and (3) ask it to provide citations in its response.
Hack: If you’ve set your Claude preferences (as suggested above) to always access DingDuff when you ask it a legal question, then you won’t have to always ask it number (1).
Once you’ve entered your legal question, you’ll have to be a little patient while Claude does its thing. You know DingDuff is working if it shows the little dog to the left as you see it thinking in real time (which is kind of fun). And in just a few minutes (although more complex questions can take up to ten or more minutes) you’ll get a pretty good answer that (in our opinion!) rivals the leading AI databases for lawyers.